Evaluating yeasts by splitting one batch into two (or more) fermenters and pitching different yeasts is about the easiest, and most educational investigative batch approaches. In this introduction article I discuss the process and equipment needed.
Evaluating Yeasts – How To
How does one perform a split investigative batch for evaluating yeasts? Get ready to take notes.
- Brew a batch of beer
- Split the batch into two (or more) fermenters
- Pitch a different yeast into each fermenter
- Ferment, package and enjoy!
It really is that easy! Well, mostly that easy. There are different ways to tackle this type of batch.
Batch Size Options
I have friends that brew 10-gallon and 15-gallon batches. They then split the wort into 2 or 3 fermenters, each with a separate yeast. This works well if you can brew large batches and want to fill a 5-gallon keg. A bonus is two full size batches of unique beers out of one brew day.
My typical approach is to brew a 5-gallon batch and split that into a pair of 3-gallon Fermonster fermenters. There are plenty of other options such as:
- 7.5 gallons of wort split into 5-gallon and 2.5-gallon batches
- 2 gallons of wort split into a pair of 1-gallon batches
- 5 gallons of wort split into 5 separate 1-gallon batches
- Really, any combination that works for your brewing equipment and fermenters.
Recipe Options
Any recipe can be used for this type of investigation. The easiest recipe would be simple extract batch with simple hop additions. I make a number of no-boil (or short-boil), extract-based single hop batches made with 1 pound of DME added to 0.75 gallons of water and 1 oz of hops added as a hop steep. This is an easy to brew and easy to reproduce recipe that should let yeast differences shine. I find an OG in the 1.050 to 1.060 to be a good target.
Another approach is to brew any recipe. All-grain, partial-mash, or extract recipes all work. This could be your favorite recipe that you have brewed many times, or a recipe from a magazine that caught your eye. A simple and light beer with restrained hop character will let the yeast shine through, but if you are trying to evaluate yeasts for a Milk Stout, you might be better off brewing a Milk Stout over a Blond Ale.
I am also a fan of combining multiple investigative concepts into such a batch. Using a SMaSH batch would teach you about the two yeasts, but also teaches about both the grain and hop used. Brewing an iteration of a house recipe with some tweaks (like a different maltster’s grains, or flaked wheat instead of malted wheat) is a great way to learn about the yeasts as well as the recipe impacts.
Just One Variable, the Yeast
Note, that to really evaluate the yeast differences, it is important that the yeast is the only variable. I recommend brewing one larger batch of wort, splitting the wort into multiple fermenters, and also using the same fermentation and packaging process. In some cases, you may decide to include fermentation differences driven by the yeast selection. For example, fermenting a Kveik yeast at a warmer temperature. If you add a second variable, like adding different dry hops, it will be much harder to attribute flavor differences to the yeast or to the second variable.
Also, while the discussion so far has been about evaluating two different yeasts, the approach here also applies to evaluating fermentation differences with one yeast. Examples include varying fermentation temperature, yeast pitch rate, open fermentation, pressure fermentation, etc.
Equipment Needed
This investigation tests a fermentation variable. To avoid extraneous variables, as mentioned earlier, it is best to brew one batch of wort, then split that wort after chilling. This requires hot-side brewing equipment large enough to handle the total amount into all the fermenters. So 10 gallons of wort to fill two fermenters with 5 gallons, or 6 gallons of wort to three fermenters with 2 gallons.
In my case, the largest batch size I brew is 5 gallons. I could have boosted up my hot-side equipment to brew 10 gallons of wort. Instead I decided to acquire cold-side equipment sized for 2.5-gallon. I typically brew 5.5 gallons of wort in a 10-gallon kettle using a BIAB process. I added a pair of 3-gallon Fermonster fermenters to handle this split wort. I also splurged on a pair of 2.5-gallon Torpedo kegs, but botting is a fine option. I find 2.5 gallons of finished beer to be a great size.
While I have not done it, splitting a batch into multiple 1-gallon fermenters is also a compelling option. This would be the best route for a “yeast shootout” comparing multiple different yeasts at the same time. Depending on the fermenter used, you might actually be able to handle a full 1 gallon of wort. Most often, a 1-gallon fermenter is best for about 0.7 to 0.8 gallons of wort to allow for a little headspace.
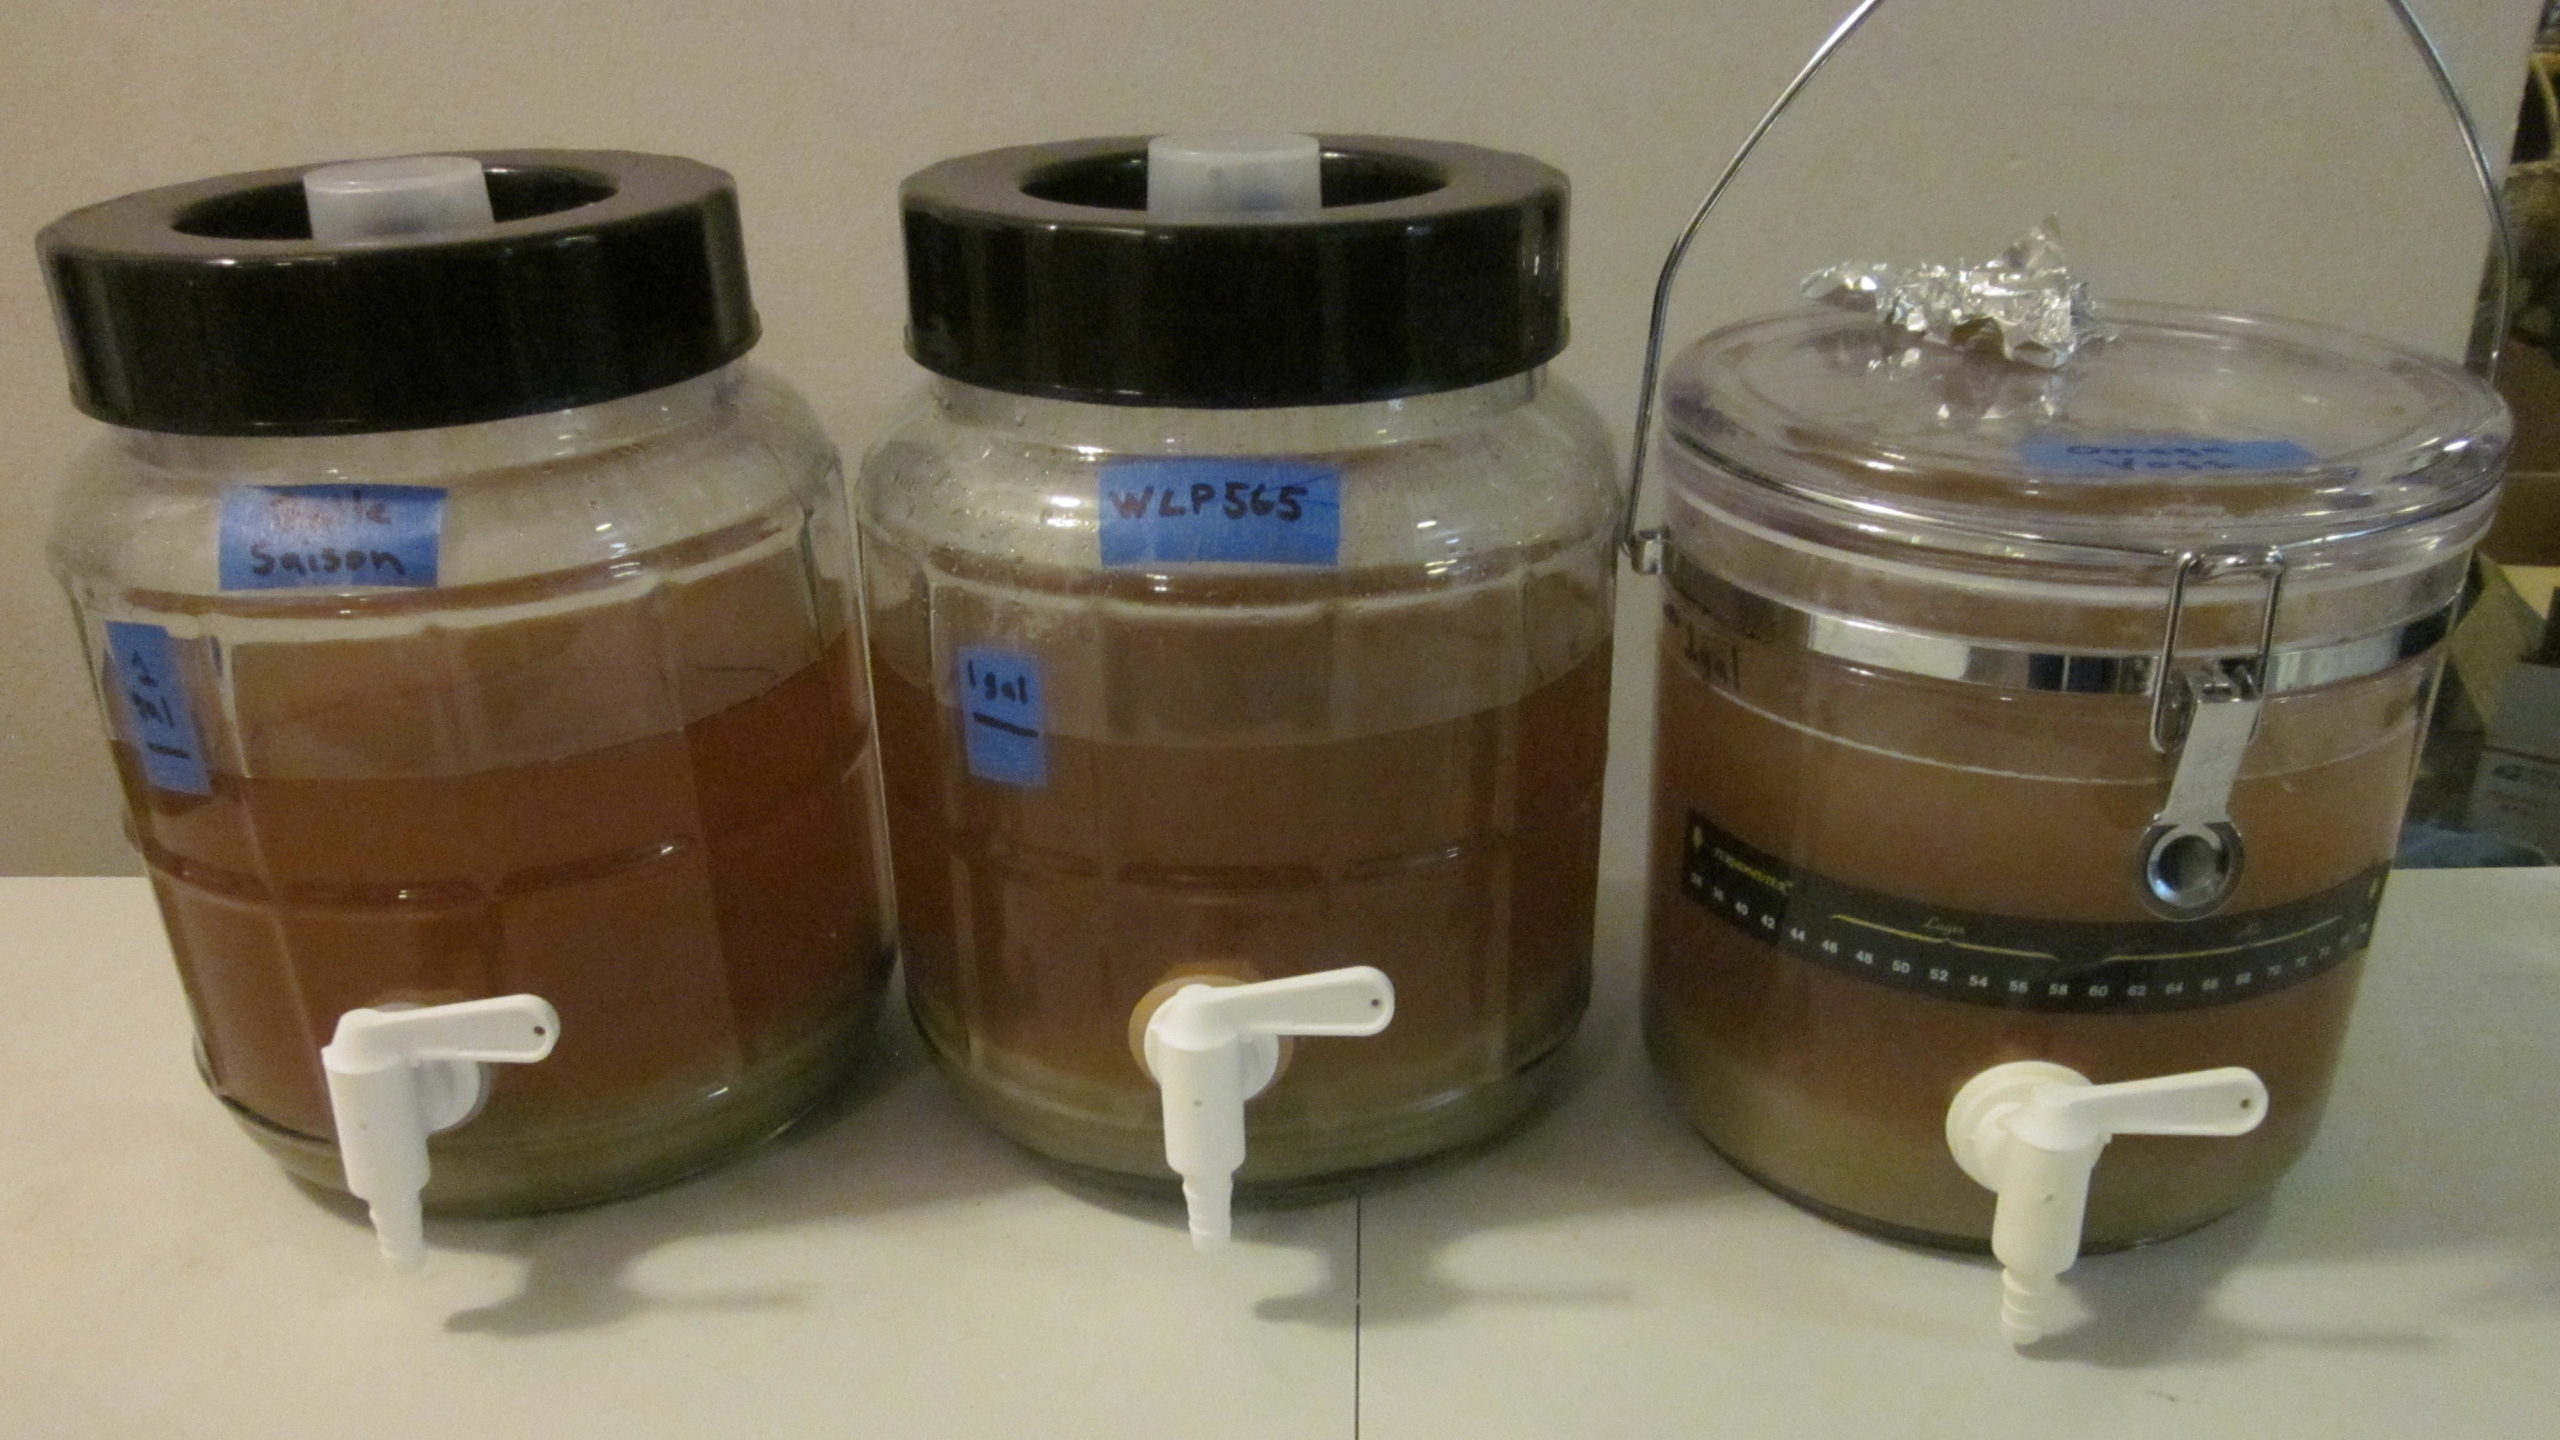
July 2021 Update: Yes I have done it! I have been picking up a few different small fermenters to figure out which ones I like the best. To trial this, I put a new pair of Little Big Mouth Bubblers to use along with a DIY fermenter for a trial run. This was a 3-gallon batch of a simple Saison recipe and that I split with WLP565 (the Dupont strain), Belle Saison, and Omega Voss. For next steps, I have several dry yeast strains to trial and maybe I will scale up the number of fermenters.

Flaws of Split Yeast Batches
While I am a huge fan of split batches, they do have some flaws or limitation to keep in mind.
Recipe Bias: The recipe used might be a better fit for one of the yeasts and not tuned to the other yeast. For example, the example in the companion article comparing US-05 to S-33 is based on a recipe that I have brewed many times that is tuned around using California Ale yeast. It could be that S-33 would be a better fit for a recipe with changes to grain bill, mash temperature, or other variables.
Fermentation Temperature: Using the same fermentation temperature might not fit both yeasts. It could be that both yeasts produce optimal flavors at different temperatures or by following a different fermentation schedule. I often ferment split batches side by side in the same environment or chamber. One yeast might be at a disadvantage based on the selected temperature and schedule.
Only One Data Point: Just like any variable or investigative batch, one batch only tells a partial story. It could be that there was an issue with one of the packs of yeast, or some external variable impacted one of the batches. I have found the best way to really understand a yeast is to brew multiple batches with that yeast. Play around with different recipes, different pitch rates, different fermentation temps, etc.
Next Steps, Brewing a Split Batch
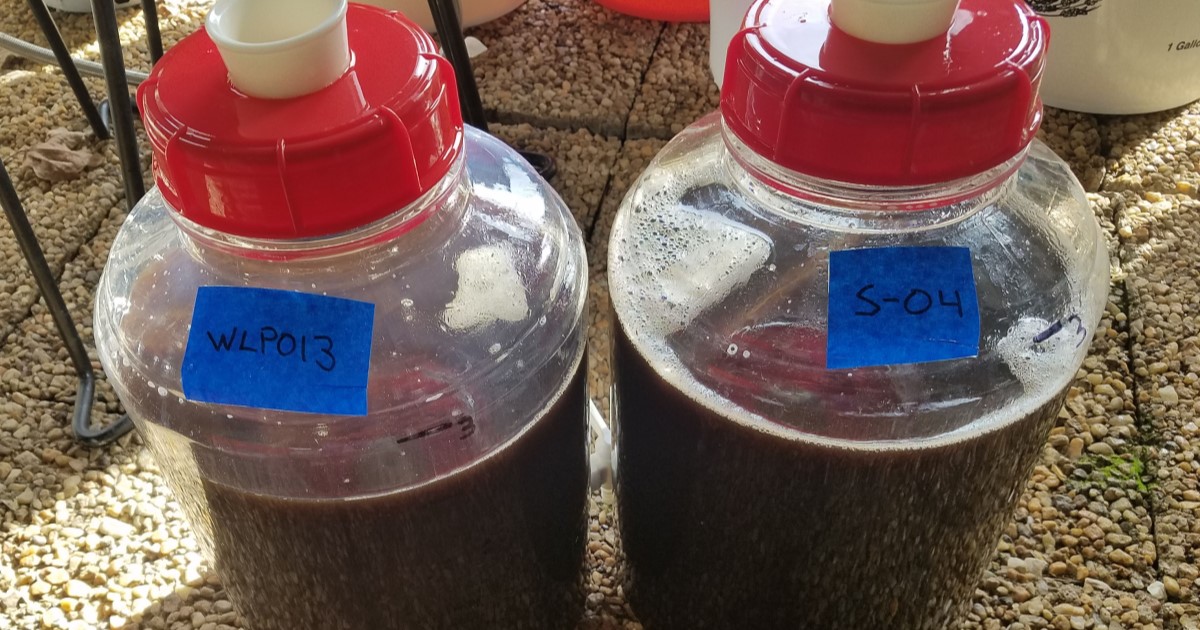
Despite the flaws, which are rather minor, I have learned a lot about yeast characteristics by brewing split batches. Past examples include a Porter with WLP013 vs S-04, an IPA with WLP001 vs WLP051, and a Dubbel with WLP500 vs WLP530. While I don’t have writeup of those batches, the “winners” for my preferences were WLP013, WLP001, and WLP530.
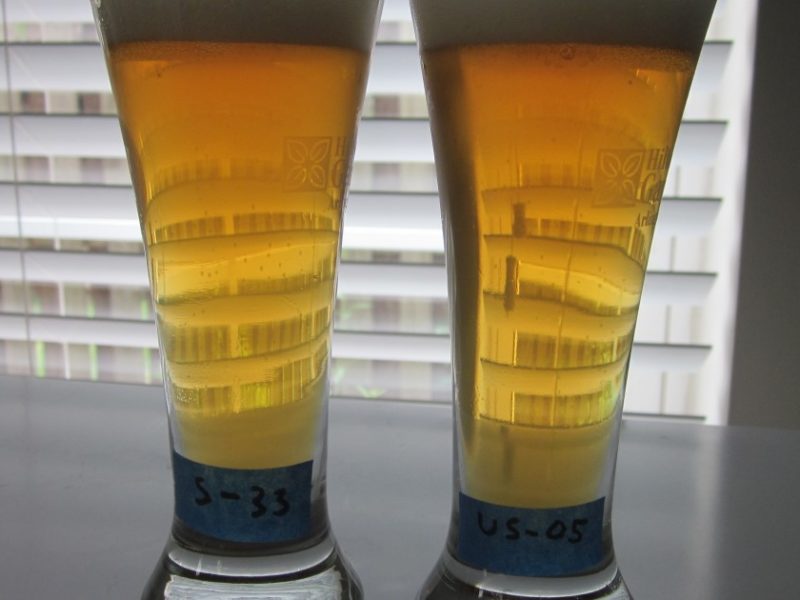
I just recently brewed a 5-gallon batch of an American Pale Ale to trial two dried yeasts. I split the wort into my pair of 3-gallon Fermonster fermenters. One fermenter got half a pack of US-05 (a classic American Ale yeast) and one got half a packet of S-33 (an oddly labeled English ESB yeast). The beer turned out great and I was also able to share bottles with homebrew club members.
I am working on an article and video capturing my brew day and tasting, so be sure to check back for that. Update, check out the article and video here:


